Build a blog site with a web browser
Using only a web browser, with GitHub Pages and the Minimal Mistakes starter template, you can quickly and easily create a website with:
- sample posts, top navigation, author sidebar with social links, footer links, about page, and 404 page
- paginated home page blog
- archive pages for posts grouped by year, category, and tag
- site wide search
Requirements: All you need is a web browser and GitHub account. Sign in or create an account at GitHub if you don’t have one already.
No technical knowledge is required. Continue reading to learn how.
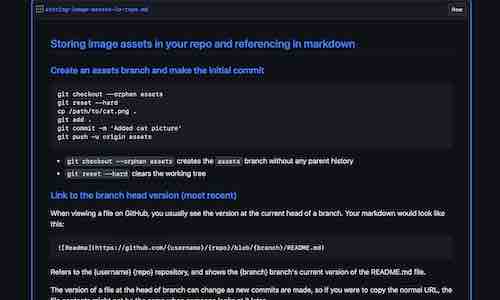
Clone the Starter Repo
Using the form below, simply enter a name (which you can easily change later) and click the Create button to copy the starter template to your account:
To make the website available at https://username.github.io (where username is your username on GitHub), name your repo username.github.io.
Enable GitHub Pages
Go to the Settings page for your new repo.
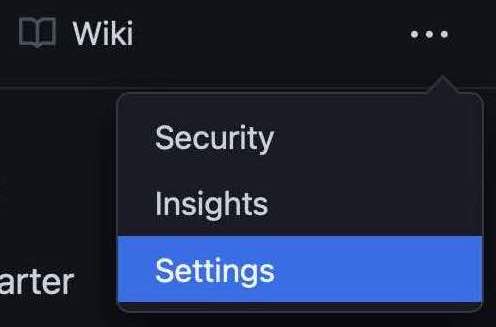
Scroll down a little to click on the Pages section.
From the Pages section, select the Master branch as the source and click Save. (Don’t select a theme.)

That will enable your site, but nothing will be published until you commit changes to your repo.
Personalize the site
You just need to edit a couple files and (optionally) upload an avatar image to personalize the site.
See Working with files if you need help working with files in repositories.
Edit _config.yml
Edit _config.yml at the root of the repo, replacing the values for the following variables with your own information:
title: MM
description: >- # this means to ignore newlines until "baseurl:"
  Write an awesome description for your new site here. You can edit this
  line in _config.yml. It will appear in your document head meta (for
  Google search results) and in your feed.xml site description.
Scroll down a little to edit the author information. (Leave the avatar unchanged for now.)
author:
  name   : "First Lastname"
  avatar : "/assets/images/bio-photo.jpg"
  bio    : "My awesome biography constrained to a sentence or two goes here."
You can also add a location variable to the author’s information.
location: Earth
Warning: Be careful about indentation, which must consist of two spaces, not tabs. See the YAML Tutorial for more information about formatting rules.
In the links sub-section, either edit the url values with your own or delete the existing entries (the entire label, icon, and url lines):
  links:
    - label: "Website"
      icon: "fas fa-fw fa-link"
      url: "https://"
    - label: "Twitter"
      icon: "fab fa-fw fa-twitter-square"
      url: "https://twitter.com/"
    - label: "GitHub"
      icon: "fab fa-fw fa-github"
      url: "https://github.com/"
    - label: "Instagram"
      icon: "fab fa-fw fa-instagram"
      url: "https://instagram.com/"
Scroll down further and do the same for the links in the footer section:
footer:
  links:
    - label: "Twitter"
      icon: "fab fa-fw fa-twitter-square"
      url: "https://twitter.com/"
    - label: "GitHub"
      icon: "fab fa-fw fa-github"
      url: "https://github.com/"
    - label: "Instagram"
      icon: "fab fa-fw fa-instagram"
      url: "https://instagram.com/"
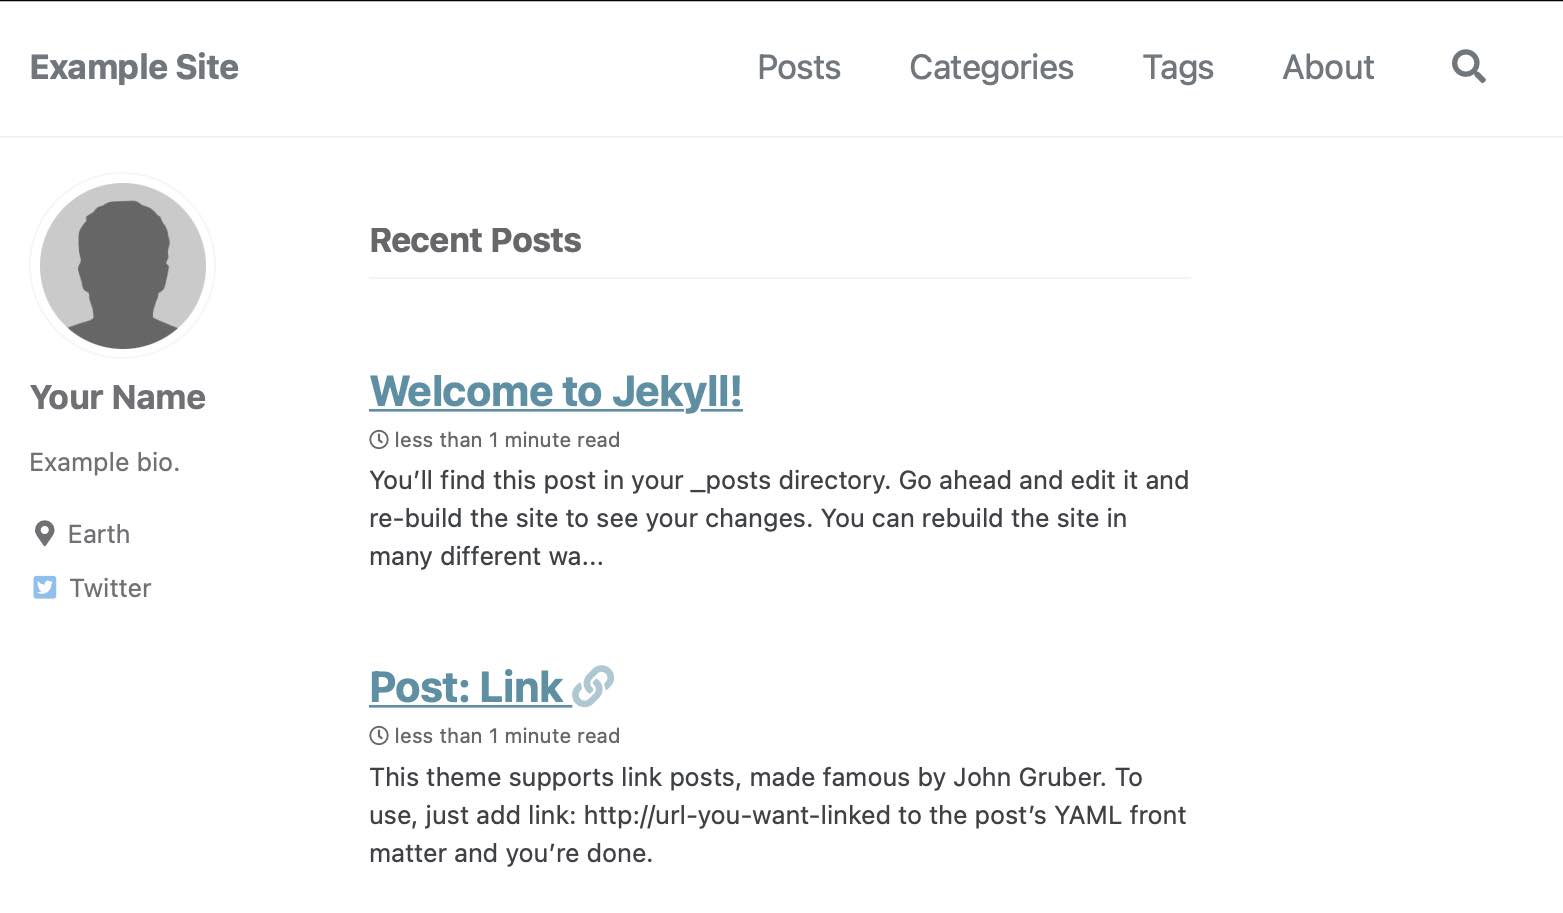
These are the values I used for this example (leaving all other settings unchanged):
title: Example site.
description: >- # this means to ignore newlines until "baseurl:"
  Example description.

author:
  name   : "Your name"
  avatar : "/assets/images/bio-photo.jpg"
  bio    : "Example bio."
  links:
    - label: "Twitter"
      icon: "fab fa-fw fa-twitter-square"
      url: "https://twitter.com/"
  location: Earth

footer:
  links:
    - label: "Twitter"
      icon: "fab fa-fw fa-twitter-square"
      url: "https://twitter.com/postgresqlstan"
See the Minimal Mistakes Configuring documentation for more information about settings stored in _config.yml.
When you’re done editing the file, click Commit changes.
Every time you commit changes, a github-pages process will rebuild the site, usually taking a minute or two minute for small sites.
After committing changes (and waiting for a couple minutes), my example site looks like this:
Upload a bio photo
You can either change the name of the avatar image (by editing the value for avatar in _config.yml) or name your image “bio-photo.jpg”. If you prefer not to have a photo, remove the entire line containing avatar : "/assets/images/bio-photo.jpg".
To add your photo to the site, navigate to the assets/images folder and click on Add file to upload an image. (A size of 200 x 200 pixels works well.)
Remember to commit changes after uploading the file.
Edit _pages/about.md
Edit the example About page, stored at _pages/about.md.
The About page is in Markdown format, a simple markup language used to add formatting elements to plaintext text documents. See GitHub’s Basic writing and formatting syntax for more information about Markdown.
Start blogging
Finally, examine at the sample blog posts in the _posts folder.
To add new posts, simply add a file to the directory that follows the convention YYYY-MM-DD-name-of-post.ext and includes the necessary YAML Front Matter. Take a look at the sample posts to get an idea about how it works.
See Jekyll - Posts for more information.